100 Days of School Celebration Design: A Practical Guide for Educators and Creators
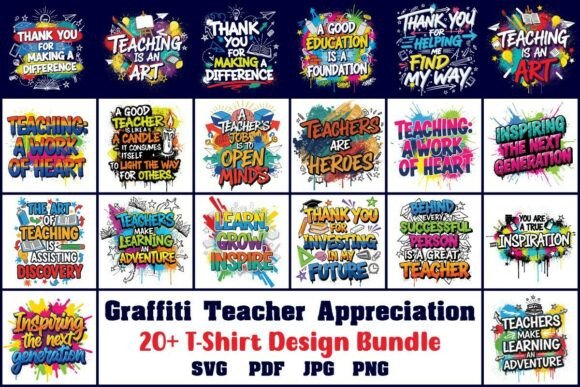
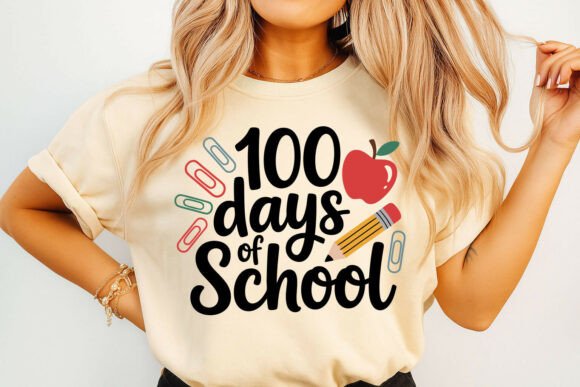
The 100th day of school is a significant milestone in early education, marking a child's transition from the initial adjustment period to a more established routine. It is a moment ripe for celebration, often involving crafts, counting activities, and special classroom decorations. For teachers, parents, and small business owners looking to capture this spirit, a high-quality 100 Days of School Celebration Design serves as an essential tool. These digital assets typically feature vibrant vector illustrations, playful typography, and classic icons like apples, pencils, and paper clips. However, simply finding a colorful image is not enough. To truly leverage these resources for sublimation printing, scrapbooking, or classroom decor, one must navigate the technical and creative pitfalls that often accompany digital downloads.
Understanding the Value of Vector Assets
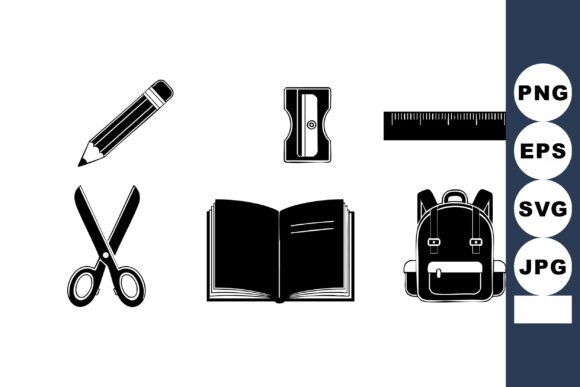
When searching for materials to commemorate this educational achievement, many users settle for low-resolution raster images without realizing the limitations they impose. A proper 100 Days of School Celebration Design is usually delivered in scalable formats such as SVG, EPS, and AI files. The distinction matters significantly when moving from screen to physical product. If you plan to create large banners for a kindergarten hallway or print designs onto T-shirts for a class party, scalability is non-negotiable. Raster images (like standard JPEGs) become pixelated and blurry when enlarged, ruining the professional look of your project. In contrast, vector graphics maintain crisp edges regardless of size, ensuring that the "100" typography and school-themed icons remain sharp on everything from a tiny sticker to a large vinyl decal.
Common Pitfalls in File Selection and Usage
One of the most frequent mistakes creators make is assuming all file formats are interchangeable. You might download a bundle that includes PNG, SVG, and AI files, but then attempt to use the PNG for a cutting machine project. This approach often leads to frustration and wasted materials. For example, if you are using a Cricut or Silhouette machine to cut vinyl decals for water bottles, the machine requires a vector path to follow. Using a PNG will result in the machine trying to cut around the white background or failing entirely. Similarly, attempting to edit text within a flattened PNG is impossible; you cannot change "100 Days" to "150 Days" or swap the font style without access to the original editable source files.
Another overlooked detail involves color management. Many designs appear vibrant on a monitor but look dull or shifted when printed. This discrepancy often stems from working in RGB color mode instead of CMYK for print projects. While screens display colors using light (Red, Green, Blue), printers use ink (Cyan, Magenta, Yellow, Black). If you design a bright neon green apple for a greeting card without converting it to CMYK first, the final print may appear muddy brown. Understanding this difference before purchasing or applying a design can save you from ordering hundreds of mismatched invitations or mugs.
Strategic Application Across Different Media
The versatility of a well-constructed design lies in its application across various mediums, yet each medium demands specific preparation. For sublimation printing on items like mugs, pillows, or fabric, the resolution and color profile are critical. A 300 DPI PNG is excellent for direct printing, but for sublimation, the design must be mirrored correctly and placed precisely on the printable area. Beginners often forget to account for the curvature of a mug, leading to distorted text or cut-off icons. Always preview your design on a mockup of the actual product before committing to production.
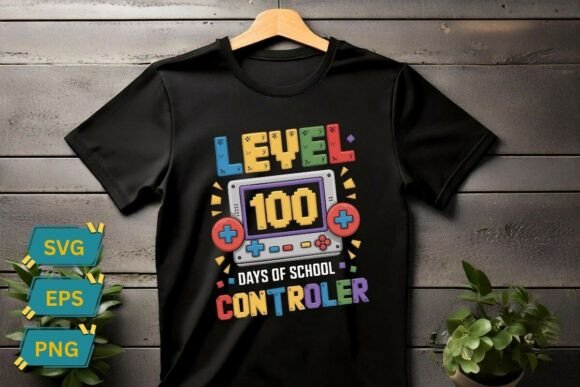
For iron-on transfers and clothing, the texture of the fabric plays a role in how the design sits. Intricate details, such as fine lines in a pencil icon or delicate lettering, might get lost in the weave of a heavy cotton shirt. Simplifying the design slightly or increasing the line weight can improve durability and visibility. Additionally, when creating scrapbooking crafts, the paper type matters. Glossy papers reflect light differently than matte ones, which can alter the perceived brightness of the vector illustration. Testing a single sample before cutting out multiple copies is a small step that prevents a lot of waste.
Evaluating Quality Before Purchase
Before downloading any digital asset, it is prudent to inspect the deliverables carefully. A legitimate 100 Days of School Celebration Design package should clearly list the included formats: SVG, EPS, AI, and high-resolution PNG. Be wary of listings that only offer low-resolution JPGs or do not specify the DPI. Furthermore, check the licensing terms. Some free or cheap designs restrict commercial use, meaning you cannot sell the finished products, such as decorated T-shirts or printed cards. If you are a small business owner or a teacher running a fundraiser, ensure the license allows for commercial reproduction to avoid legal complications.
Also, consider the complexity of the design relative to your skill level. A design with dozens of grouped layers might look impressive but could be difficult to ungroup and edit if you need to customize the colors or remove certain elements. Look for designs that are well-organized with named layers. This organization saves hours of time when you need to isolate just the apple icon for a badge while leaving the rest of the graphic untouched.
Maximizing Your Creative Output
To get the most out of these resources, adopt a workflow that prioritizes testing and adaptation. Start by extracting the ZIP file immediately upon delivery and opening the vector files in compatible software like Adobe Illustrator, CorelDRAW, or free alternatives like Inkscape. Verify that the fonts are embedded or converted to outlines to prevent missing text errors later. Once the files are verified, run a test print on plain paper to check alignment and color accuracy before using expensive sublimation paper or vinyl.
Remember that the goal is to celebrate a child's educational journey effectively. Whether you are crafting a personalized invitation, decorating a classroom wall, or producing merchandise for a school event, the quality of your execution reflects the care put into the occasion. By avoiding common technical errors, understanding file formats, and respecting color modes, you ensure that your 100 Days of School Celebration Design delivers the vibrant, engaging experience intended. With the right preparation, these digital assets become powerful tools for creating lasting memories and professional-looking results for educators, parents, and creators alike.